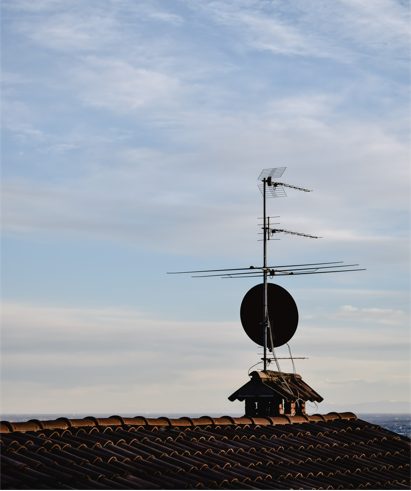
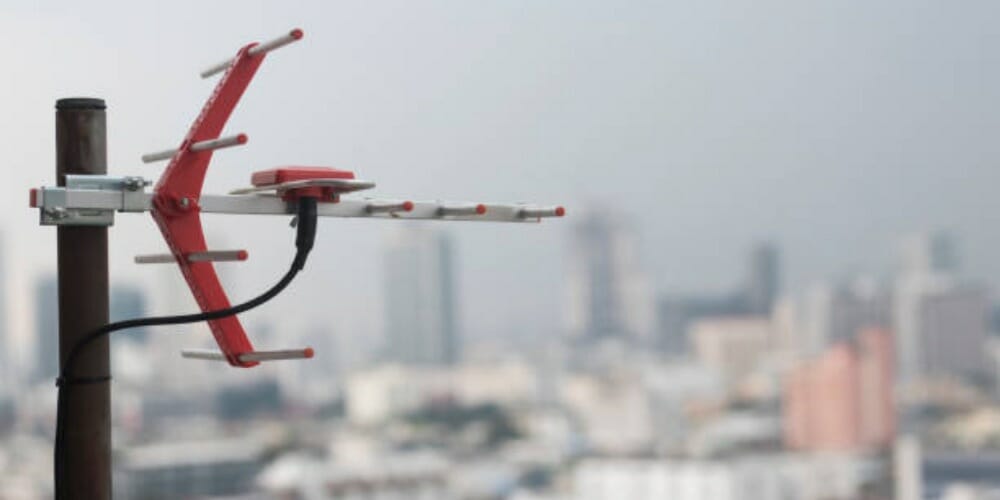
A VHF UHF TV Antenna connects your TV to a digital converter box and lets you watch free over-the-air TV channels. They can be placed either outside or inside your house. Although the antenna is best picks up over the air signals if it is placed outside on a high standpoint such as on a rooftop or the roof. Building your own CHF UHF TV antenna can be a complex task but it’s very doable.

So today, I am going to teach you how to build a UHF VHF TV antenna at home. This is a step-by-step guide on the easiest and simplest way to build a VHF UHF TV antenna using easily available material.
In short, all you need to do to set up your own VHF UHF TV antenna at home is to follow these steps outlined below:
- Peeling the cable
- Soldering
- Adding the finishing touches to your antenna
- Installation of your antenna
Why Should You Build a UHF VHF TV Antenna?
Here are a few reasons why you should build your own VHF UHF TV antenna:
- Make maximum use of over-the-air TV channels as it is cheaper than cable TV.
- You cannot afford to splurge on a readymade antenna.
- You need a replacement antenna as your existing antenna was destroyed in a storm or due to other extreme weather conditions. (1)
- You are a person who enjoys trying out DIY activities.
What Do You Need to Build Your UHF VHF TV Antenna?

- Coaxial cable
- Radial cable
- A pair of sharp scissors
- A measuring tape
- A Soldering gun
The Steps to Build Your Own UHF VHF TV Antenna
Step 1. Coaxial Cable
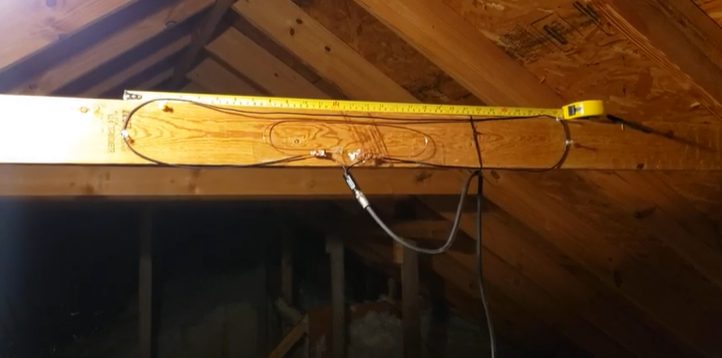
Let us first start with the coaxial cable. Take the coaxial cable and measure up to 21 or 22 inches of the coaxial cable and make a mark of it.
Step 2. Outer Insulation
Next, remove around 21 or 22 inches of the outer insulation portion of the coaxial cable measured above.
Step 3. Soldering
Also, make sure to remove the shield of the wire from one side of the inner coaxial cable. Always be cautious to not cut into the coaxial cable or else you will have to begin all over again from scratch. Aim to leave 21 or 22 inches of the cable exposed. Also, make sure to leave an inch for soldering the three radials to it. (2)

Step 4. Radial Cable
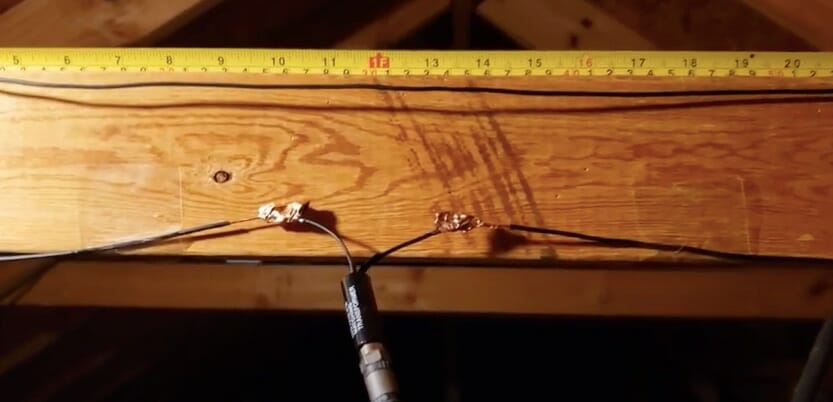
Solder the radial cable to the coaxial cable’s shield on the end that has been cut with the help of a solder gun. Ensure the cables are long enough to be soldered to the shield.
Step 5. Single Radial Cable
Next, solder the two remaining coaxial cables to the single radial cable.
Step 6. Spread out Cables

Spread out the cables in three equal directions and a distance of 120 meters should be maintained from one cable to another.
Step 7. Finish
Now you have finished making your antenna. Let it hang from the support and attach the other end to your scanner.
Take a look at some of our related articles below.
References
(1) storm – https://www.britannica.com/science/storm
(2) soldering – https://eecs.oregonstate.edu/education/docs/tutorials/rogersolder.pdf
Video References

