A frugal hack to watching TV is making your omnidirectional tv antenna rather than buying one from a store. If you don’t know how to do it, you’re lucky because we’ve got your back!
In this article, we have outlined a step-by-step guide to making your omnidirectional TV antenna.
Method 1
What You Need:
- Coat Hangers
- A board
- Copper Wire
- Wire Cutter, Plier
- Balun (Baluns are used both to sort out the flow of AC signals and make the necessary impedance transformation between coaxial cable, which has a low impedance, and balanced loads, which have higher impedances.)
Step 1: Grab an iron coat hanger, preferably with bendable hooks. Ensure it isn’t rusted or corroded and has no paint or gloss. Take a pair of wire cutters, and slice the hook off the hanger. You can also use a sturdy plier for this job.
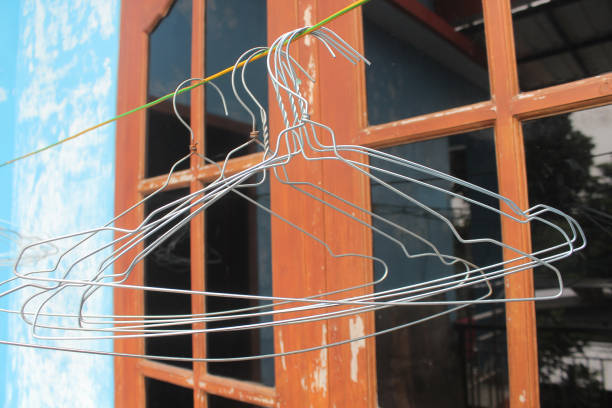
Use the pliers to straighten the hook. You can place the hook on a board and bend it into a straight wire.
Step 2: Cut the straightened wire into eight equal portions. Ensure that they are at least 14 to 15 inches long. If you’re running short, you can slice up another hook from a hanger and compensate for the deficit.
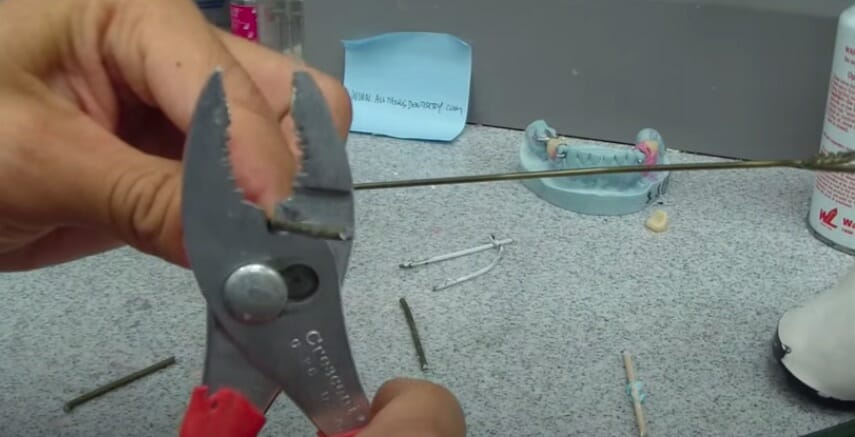
Now, place the plier at the center of each wire piece, and bend it downwards. Try to shape it like the alphabet V.
Step 3: Bring out a board of size 1×4, and cut it to 36 inches. You can do this with any tool, nearly slicing a sturdy board. Use a scale, a measuring tape, and a pencil, and start marking points at an interval of 5 inches on both the left-end tight edges.
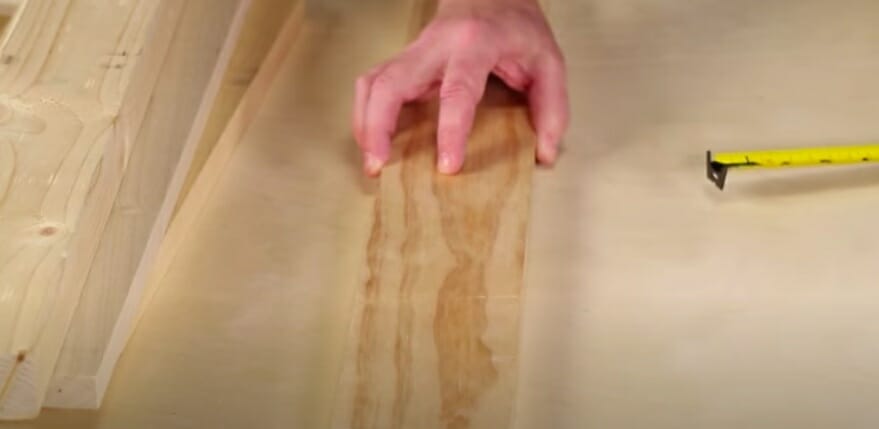
Take the top of the board as the first point, with the bottom being the fourth one.
When you’re done, you’ll be looking at a board, with four points on the left, and four on the right, with a difference of 5 inches between each. Measure again to ensure everything is in place.
Step 4: Place the shaped wires on each of the points you marked on the cardboard so that the hands of each wire face outward. Use a ring washer to secure the wires on the board, so it doesn’t lose its position when you pick it up or move it. No need to tighten the screws completely; we need to secure the wires for now.
Step 5: Take a piece of copper wire with insulation removed from one end. Use the bare end to cover the screw you placed on the top right.
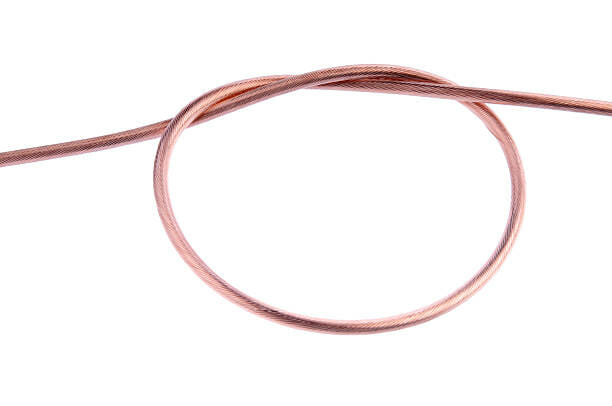
From there, bring the wire to the left and loop the two left-middle screws on the board.
Now bring the wire to the bottom right and loop it in. Repeat the exercise until all the screws have been looped into a network.
For the left portion, repeat the same steps: looping the top left screw, bringing the right middle screws into the fold, and finally, the left bottom one.
Tighten the grip a little by tugging the wire once you’re done. Cut the extra wire if you’re left with any once you’re done with this step. Make sure everything is secured in its place.
Step 6: Connect a balun lead to the top screws, one to the left and one to the right. This time, tighten the screws completely and ensure that the wires have been secured on the board. Now connect the coaxial cable with the balun and the TV.
Please switch it on, and move the board to capture the signal. Test the DIY antenna from a spot with optimum reception.
Method 2
You can also make an antenna using a paper clip. But for this, you’d need to ensure that you’re closer to the transmitter, have perfect weather conditions (absence of rain, hail, snow, or thunderstorm), and have excellent signal strength.
If all these boxes check out, you can use this method. For this, bend a common paper clip to an L shape. The shorter end will be connected to your coaxial cable, while the other will be connected to your television.
The key here is the height. You’d need to put the receiver at the highest point possible to catch the on-air signals. Your DIY antenna is no exception to it. For this, you can go for an extraordinarily long cable. This will allow you to establish a connection at a roof’s height.
Wrapping Up
Often the question is whether omnidirectional antennas work, and making your omnidirectional antenna can be tricky but highly rewarding. You don’t need a special skill set, just basic handyman talent, and the right tools, and you’re good to go.
In this article, we have mentioned two methods for making your TV antenna. The first is more productive than the other, but it’s also more lengthy. However, if you’re willing to put in the hours to make it, you can enjoy all your favorite on-air shows without paying an arm and a leg for it.
References
(1) DIY – https://www.housebeautiful.com/lifestyle/a22567439/what-is-diy-meaning/
(2) transmitter – https://www.britannica.com/technology/transmitter
(3) receptor – https://study.com/academy/lesson/receptor-definition-function.html
Video References
All Things Dentistry
buildsomething.com

